My MOC display page
It seems everybody that has been into Lego trains for some time
has the legendary blue Hopper (#4536). Those of us that do not
yet have one or more of these infamous sets have to resort to
scouring Ebay or shamelessly attempting to build a copy from their
spare parts collective. I, being the latter, have come up with
an interesting method of getting around using the exceedingly
rare inverted corner pieces.
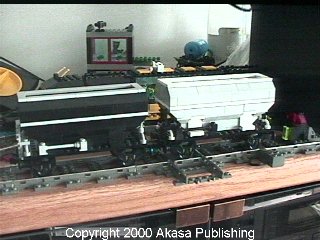
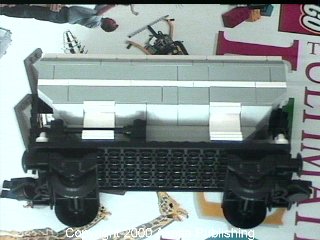
Here you can see my completed version of my gray, black &
white inverted Hopper. At first glance this Hopper looks like
any other clone but it has one interesting fact. It uses no inverted
pieces whatsoever. This includes the corner pieces. The section
that looks like it contains inverted pieces is actually inverted
itself.

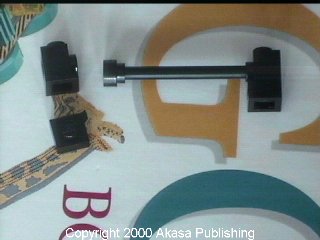
The inverted Hopper is primarily made up of the three segments.
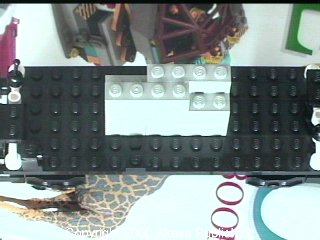
The base segment contains the standard wheel sets, end ladder
assembly and a centering stabilization column that the second
segment attaches to.

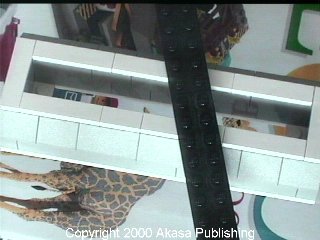
The middle segment is built roughly inverted to the standard
Hopper portion. The end studs on the bottom are capped. As you
can see in the photo the assembly is attached to the base by a
technic 1 by 2 brick. The other end is a 2 by 2 with pin.
One side is then inverted and attached to the centering column
on the base and into the wall on the second segment. Due to the
half plate offset caused by the caps on the studs (between the
base plate in the Bottom of the assembly) it fits perfectly to
the half plate offset caused by the pin inversion.
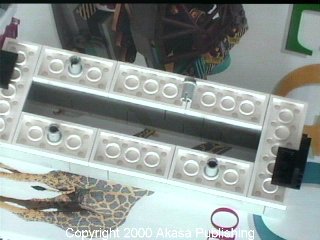
This however created a new challenge of attaching the top
piece (studs up) to the rest of the assembly without leaving a
half plate gap between the two. Also because of the needed centering
column on the base I installed a black bottom to give the illusion
of the dark empty space. This is supported on each end and sits
(with a half plate space) on the centering column supports.
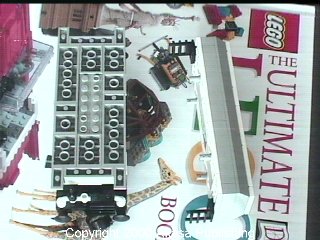
In order to make as snug a fit as possible between the second
and third segments I used the technic pins with stud to secure
the segments together. This worked surprisingly well.
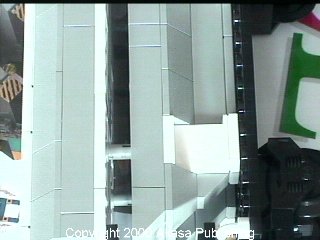
You then simply push them together.
Due to the half plate offset I had to raise the sidebars by
one plate.
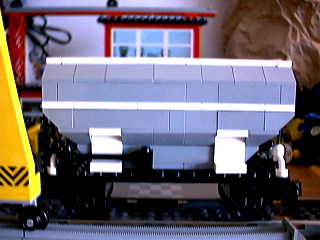
Here you see the completed model. The one other thing to note
is the 2 by 2 thin wall (white) are attached to the inverted portion
of the assembly. I then used a 1 by 2 Cap (white) to finish off
the bottom.
In the end I think it turned out rather well.
Copyright 2000 by Akasa
Publishing - All
rights reserved
[RETURN] to TFM's
Home Page